Printing a woodblock print the Japanese way with
water-based inks
Demonstration at "The Print Studio" in Hamilton, Canada,
June 2007
Fotos by Katherine Zarull |
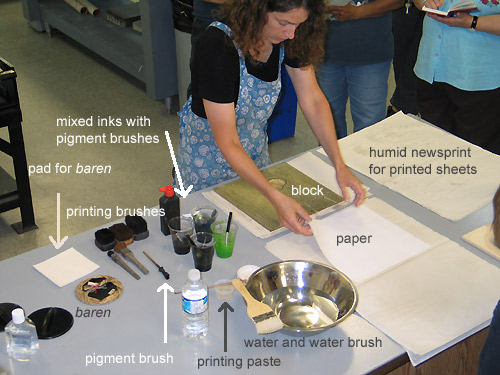
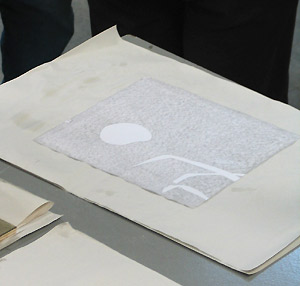
Before starting to print, I have prepared my working space.
The block is placed in front of me, behind it the paper, on the left humid newsprint
for storing the printed sheets. As right hander, I have placed the required
tools and material ready on the right side: inks, paste and water, brushes and
the printing tool baren. The prints I am going to print is done from
three blocks which I will print one after the other. I am starting with the
first block, the "background block".
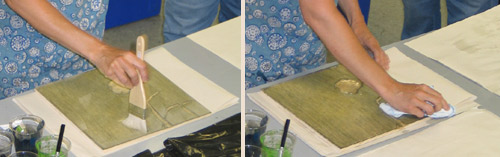
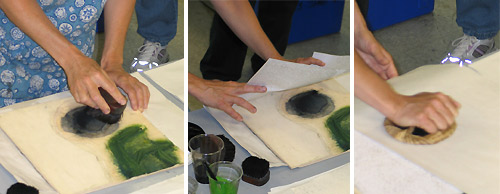
Before inking, I soak the block with water so it might be able
to absorb ink easily.
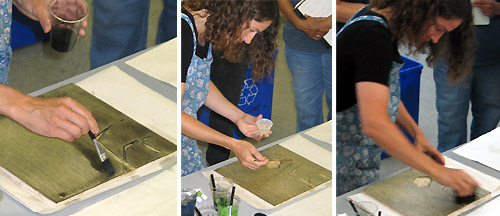
I apply ink with a pigment brush, add a few drops of printing
paste and mix both on the block with a printing brush, thus creating an even
film of colour.
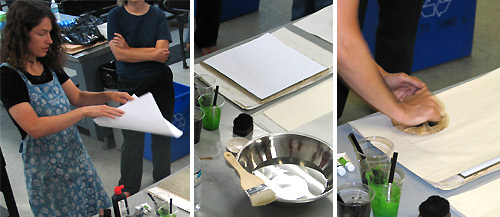
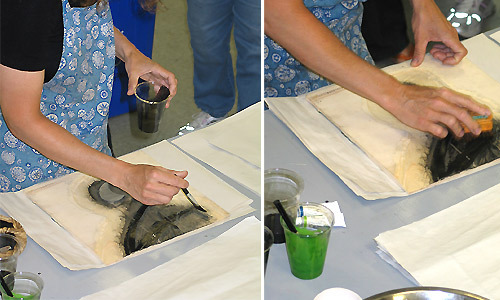
I take the paper and place it into the kento registration
marks. I cover it with a protective paper. I print by rubbing the paper with
the baren.
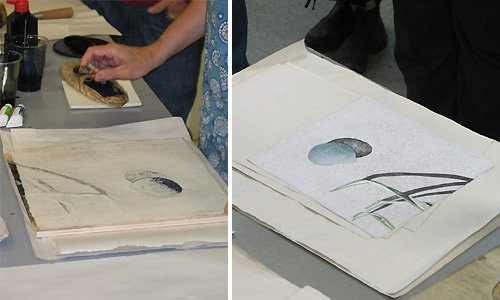
Print of the first plate. The "grainy" texture, called
gomazuri (printing a "sesame seed" pattern) results from
a block which is too wet or lacks paste. It appears often in the first pulled
prints.
I continue with the second plate. I ink it with two different
colours including one gradation, and I print it.

Print of the first and second plate
I ink the third plate...
... and I print it.
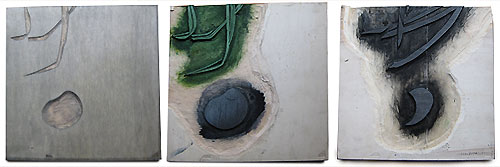
The three plates...
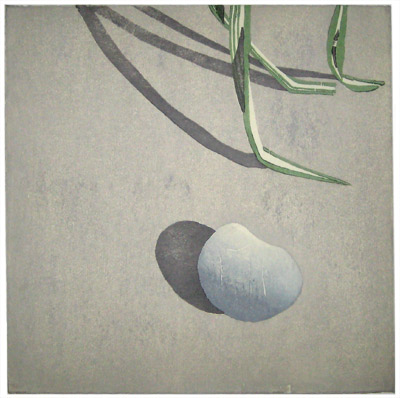
... and the final print.
 |